Contains affiliate links
Late last spring, I asked my son what theme he wanted for his fourth birthday. Without a moment’s hesitation, he shouted, “Hot Wheels!” That little boy has loved anything with wheels since before he could walk. We did trains for his second birthday, construction trucks for his third, so a race car theme for his fourth felt like the natural next chapter.
Now, I love Hot Wheels as much as the next mom — but licensed-character parties have never been my thing. I wanted something that honored the spirit of what he loves without borrowing someone else’s branding for our own celebration. The answer, of course, was vintage race cars. Once the theme clicked into place, I set off on the part I love most: gathering inspiration, sourcing the right pieces, and figuring out how to bring it all to life in a way that still felt like us.
Start Your Engines
The simplest, truest race car party activity is letting the kids send some cars flying down a track — it’s one of those foundational childhood joys that never needs reinventing. But rather than buying a set of ready-made cars, I wanted to build in a bit of a maker spirit. Enter: Pinewood Derby cars.
I ordered a set of official Pinewood Derby kits, assembled them myself, and gave each one a coat of paint. With guests ranging from two to five years old, I kept the customization simple — a few sheets of Pinewood Derby decals let each child dress up their own car with stripes, numbers, and flames. It turned out to be more than an activity; it became a keepsake, something each of them got to carry home at the end of the day.
Building the track itself was, without question, the most ambitious part of the planning. Pinewood Derby races are traditionally a Boy Scouts of America rite of passage, which meant every track and ramp tutorial I found online was scaled for that — enormous, expensive, and built with power tools we don’t own. So, as with most things around here, I built it myself, with a good bit of trial, error, and love.
To build the sawhorse ramp:
- Saw horse brackets
- Four 2x4x2′ boards for the legs
- One 2x4x3′ board for the top rail
Attach the legs to the brackets with self-driving wood screws, then secure the top rail the same way.
For the lanes themselves, I used 5″ x 10′ vinyl rain gutters — the perfect width to cradle the cars and keep them from tipping. I connected two sections together with gutter connector pieces to create three twenty-foot lanes, then screwed all three down along the top of the sawhorse. Vinyl on its own doesn’t have much structural memory, so I supported the midpoint of the ramp with a spare storage bin, and anchored the base of the first gutter section (just before the connector) to a scrap piece of wood to keep everything from twisting under speed. A strip of road-pattern masking tape down the center of each lane was the final touch — it turned plain rain gutters into something that actually looked like a road.
A small but important note: buy gutters with a flat bottom. It makes all the difference in keeping the cars tracking straight.
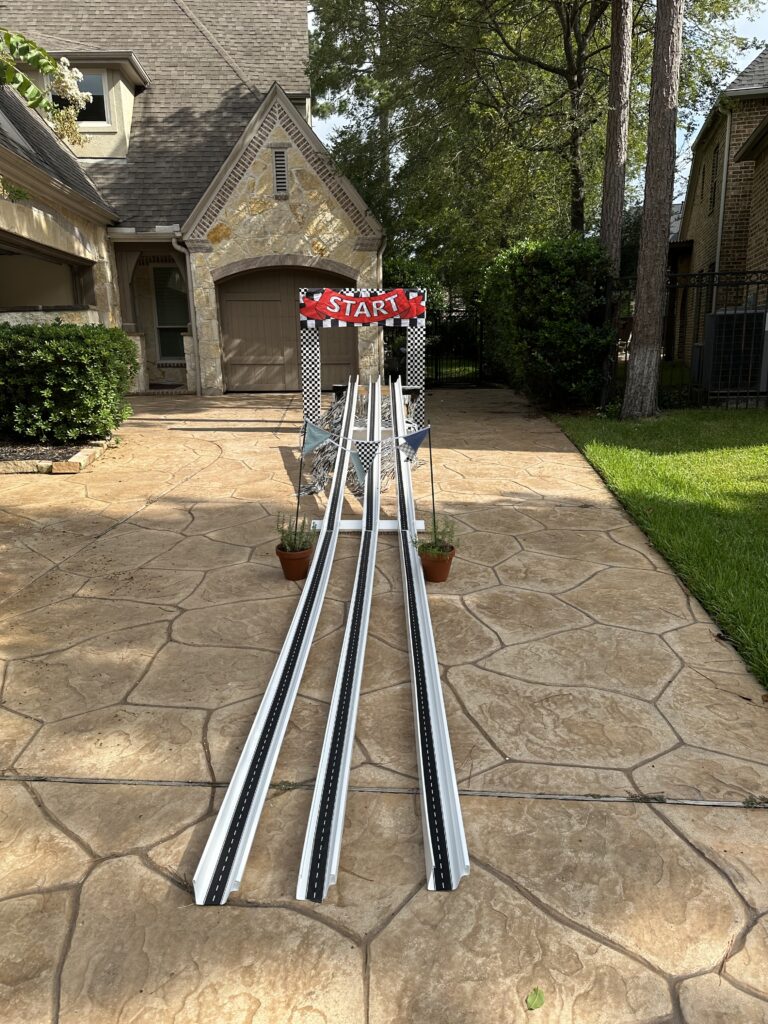
To send the cars off in proper style, I built a starting-line archway from white boxes taped together, wrapped in a checkered-flag tablecloth, with a red “START” banner secured along the top. A fringe of silver tinsel and a small string of pennant flags dressed up the base, with a pair of potted rosemary plants standing guard on either side.
Another note worth keeping: pack the bottom of each box column with something heavy — books work well — so the whole archway doesn’t topple mid-race.
Setting the Scene
I approach a children’s party exactly the way I would any other gathering I host: with an eye toward all five senses, and a commitment to staying true to the aesthetic of our home — classic, collected, a little worn-in. The gift of a kids’ party is that it gives you permission for a bit more whimsy than usual.
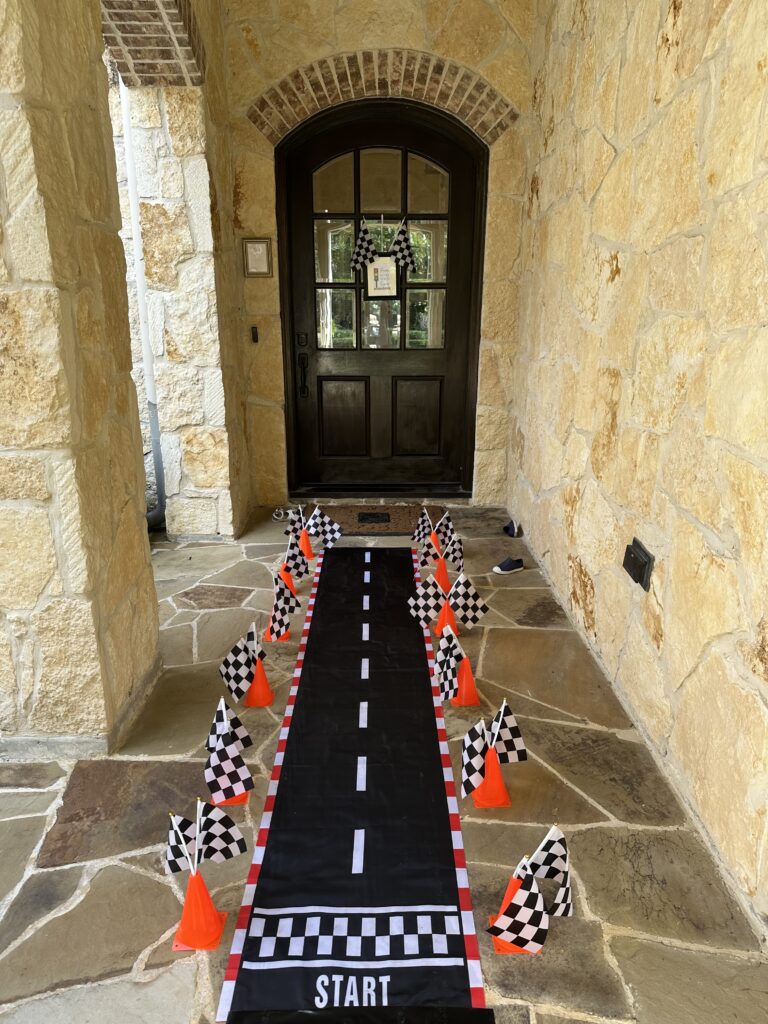
At the entry, I laid out a race lane leading straight to our front door — a black-and-white checkered runner with a dashed center line, flanked by small orange cones and checkered flags — the first hint of what awaited inside.
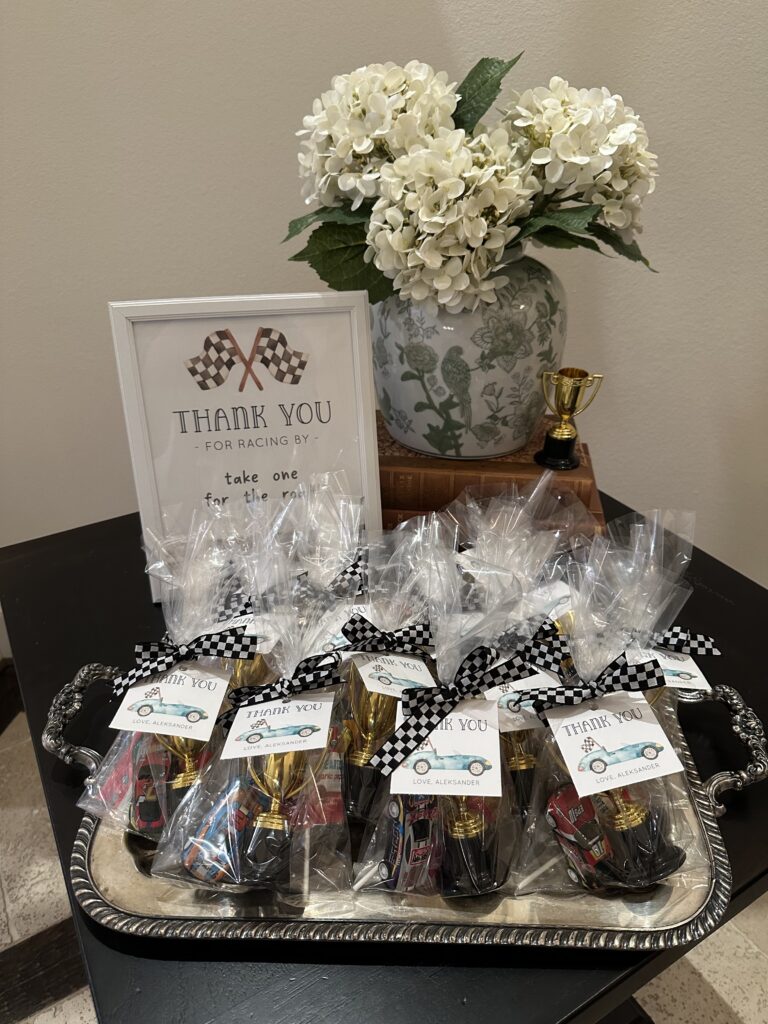
The entry table became a landing spot for party favors: little gold trophies tucked into cellophane bags, tied off with checkered ribbon and a “Thank You for Racing By” tag, all arranged on a silver tray beside a blue-and-white chinoiserie vase filled with white hydrangeas.
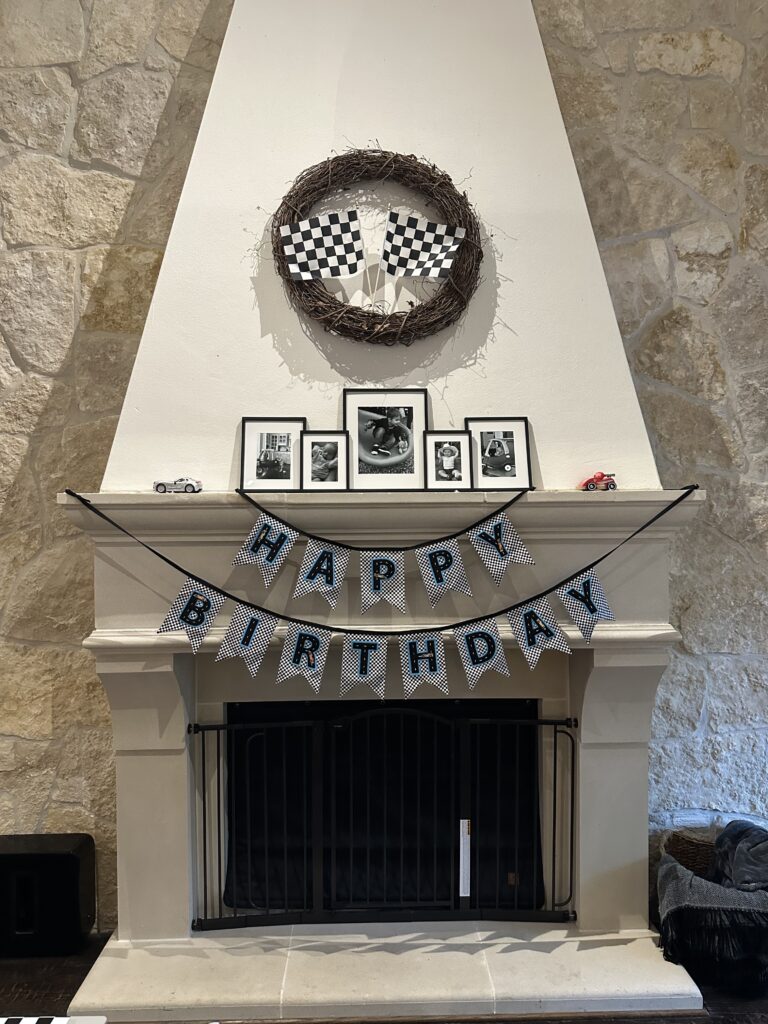
On the mantle, a grapevine wreath held two crossed checkered flags at its center, with a run of black-and-white photographs of the birthday boy through the years lined up beneath it. A hand-lettered “Happy Birthday” bunting in blue-and-white check hung below, with a pair of vintage cars standing sentry at either end.
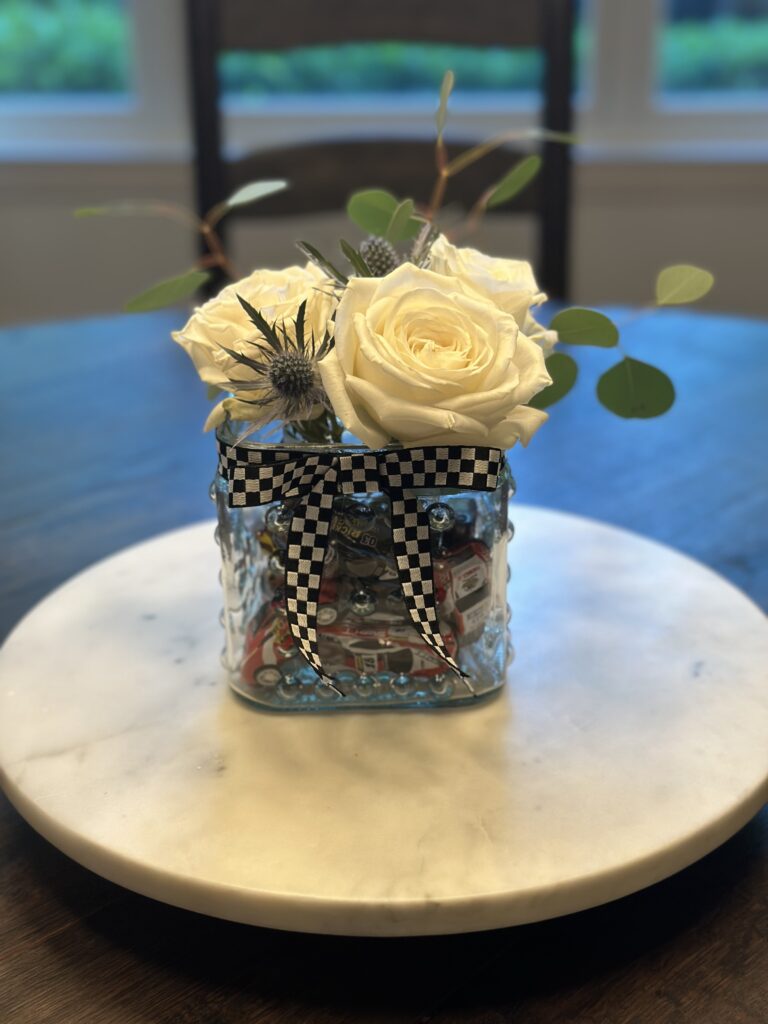
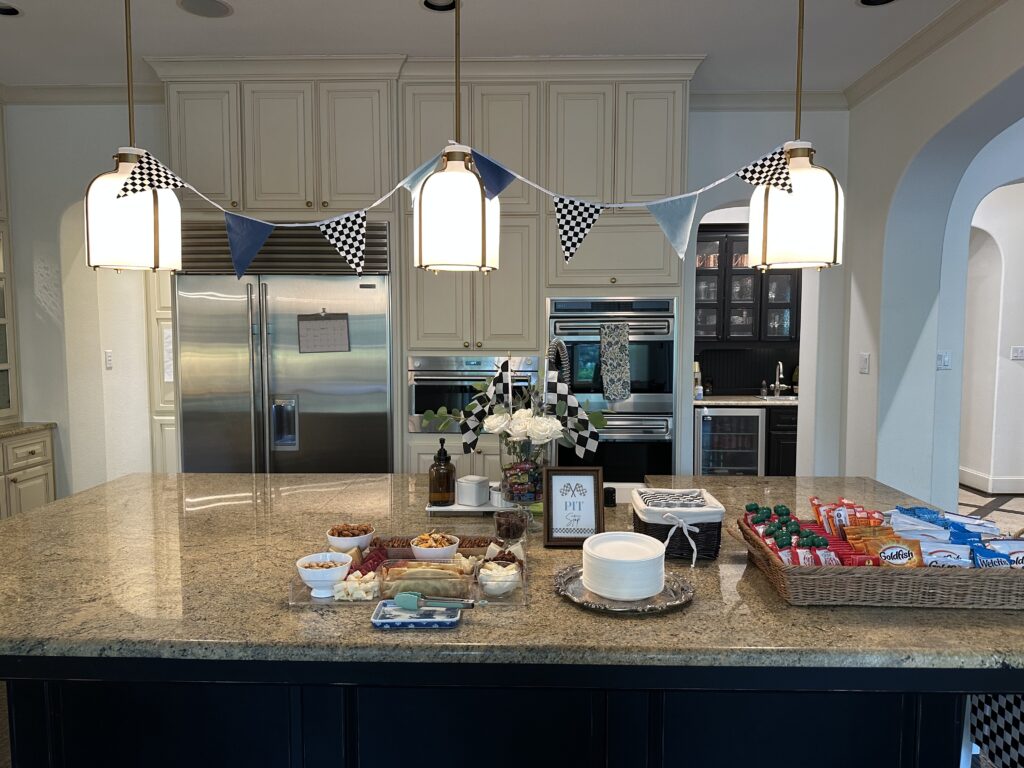
I filled a few vases with pull-back cars — one a hobnail glass vase wrapped in checkered ribbon, another set inside a tall glass vessel flanked by checkered flags on the kitchen island — and layered in white roses, blue thistle, and eucalyptus for a bit of texture against all that black and white. A garland of blue and checkered pennants swagged between the pendant lights overhead, and a “Pit Stop” sign marked the island as home base for the afternoon’s spread: a simple cheese board, bowls of nuts and pretzels, and baskets of Goldfish and fruit snacks for the littlest racers.
![Checkered-tableclothed hutch with drink buckets, milk glass roses, and small trophies.]](https://thecollectedseam.com/wp-content/uploads/2026/07/IMG_7261-1024x768.jpeg)
The built-in hutch became our “Fueling Station” — a checkered tablecloth, a bunting of blue and checkered pennants overhead, ice-filled buckets of juice pouches and canned drinks, and milk glass vases of white roses flanking a pair of small lamps and gold trophies perched on stacks of old books.
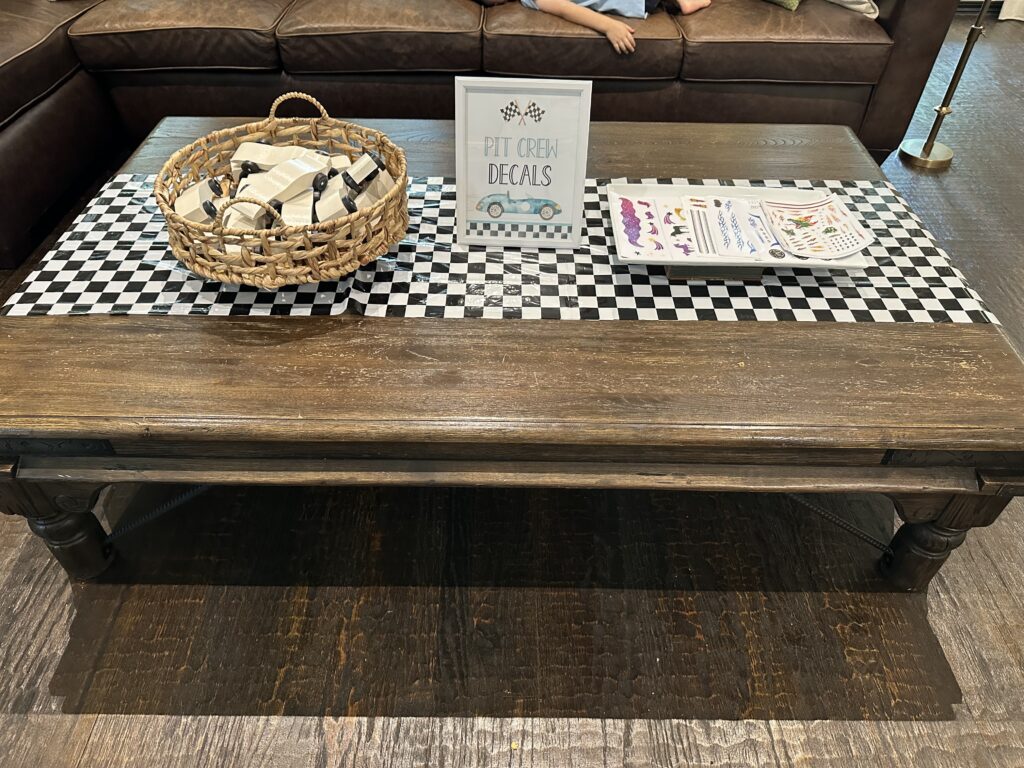
On the coffee table, a “Pit Crew Decals” station held the basket of unpainted Pinewood Derby cars alongside sheets of stickers, ready for each guest to customize their own.
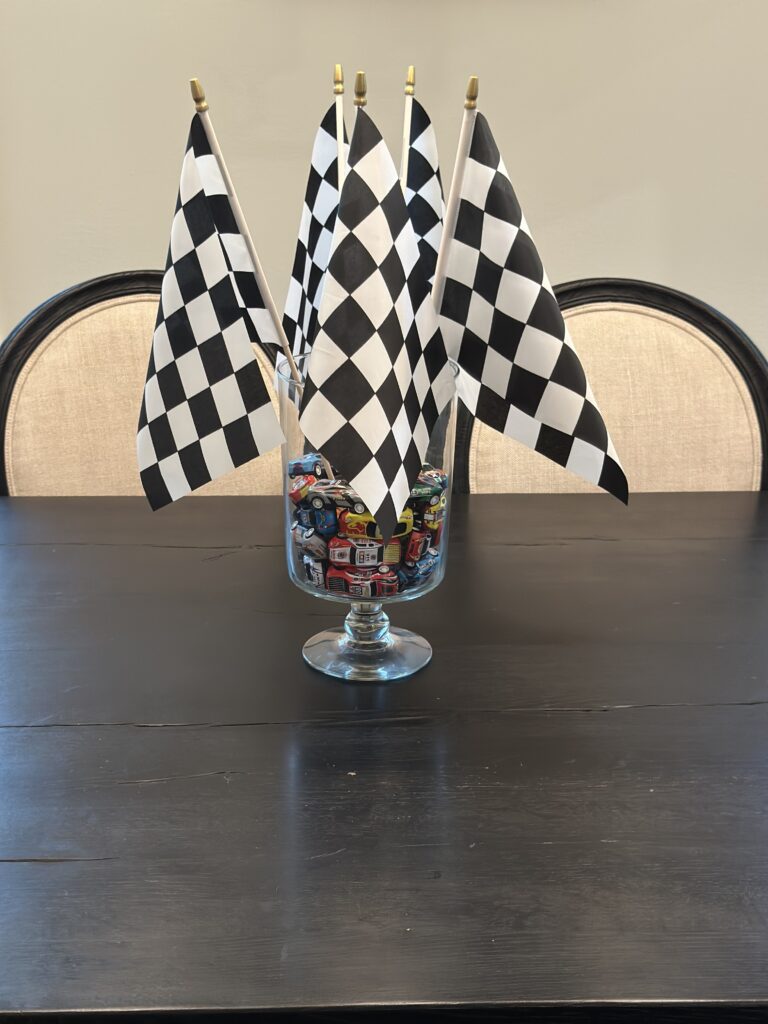
At the dining table, a simple pedestal glass filled with pull-back cars and topped with a cluster of checkered flags stood in as the centerpiece — proof that you don’t need much to make a tablescape feel on theme.
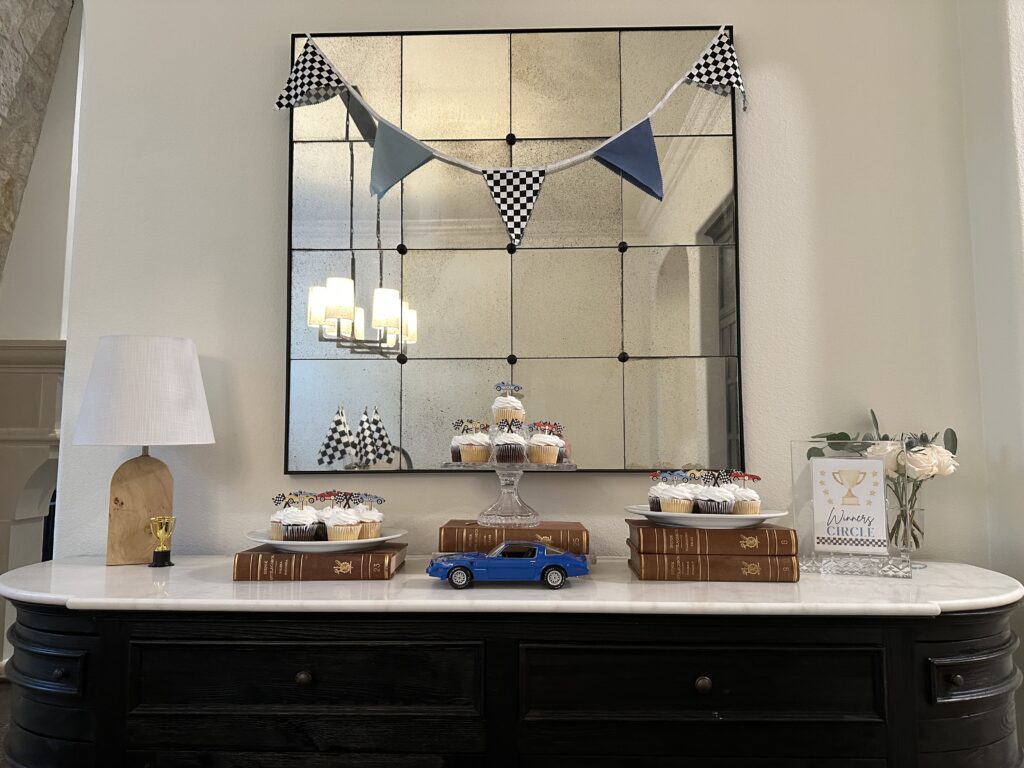
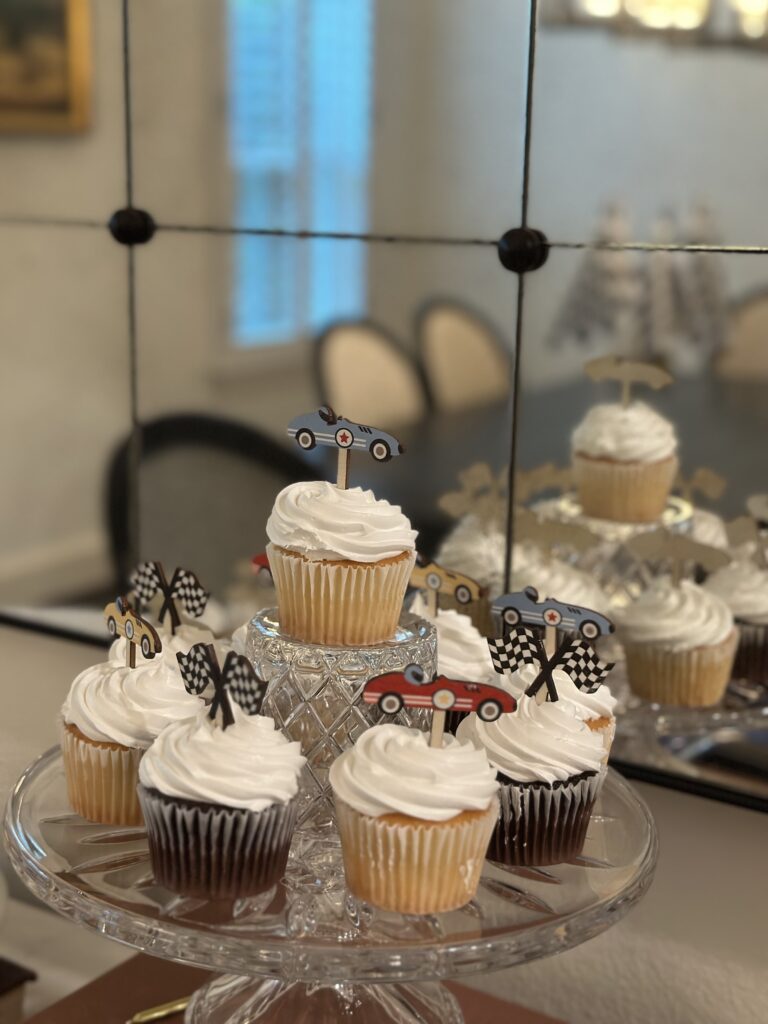
And for dessert, the “Winners Circle” came together on the sideboard beneath a mirror hung with a checkered-and-blue bunting: cupcakes topped with little illustrated vintage race cars in blue, yellow, and red, alternating with tiny crossed checkered flags, arranged on plates set atop stacks of vintage books, a crystal cake stand in the center, and a model muscle car standing in for the guest of honor.
In the end, this was a party built almost entirely by hand, and I suspect it’s one the kids — and certainly the birthday boy — will remember for a long time to come. The squeals of happiness and excitement as those little cars flew down the track are a sound I’ll be holding onto for a long while myself.